Clutch Pedal Assembly: Service and Repair
Clutch Pedal ReplacementRemoval Procedure
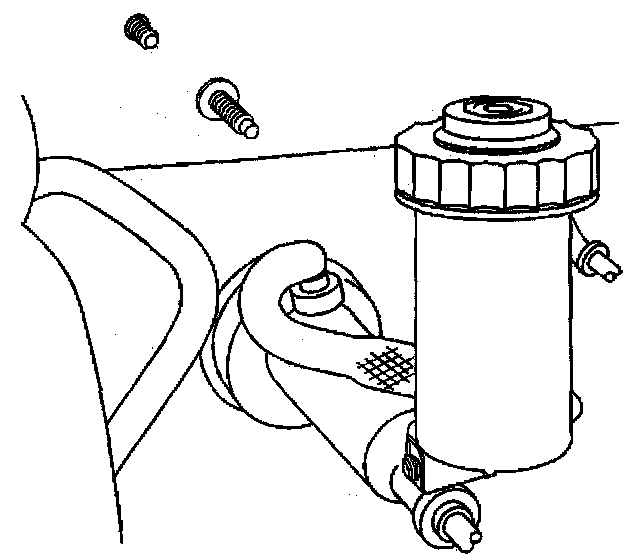
1. Locate the clutch cylinder on the dash panel in the engine compartment.
2. Quick connect the hydraulic line to the master cylinder.
3. Turn the clutch cylinder 45 degrees clockwise to unlock the clutch cylinder.
4. Remove the electrical connector from the clutch pedal position switch.
5. Push the clutch pedal all the way down and squeeze in the tabs to release the pushrod bushing form the clutch pedal pocket.
6. Pull the clutch cylinder from the clutch pedal bracket.
^ Complete removal of the clutch cylinder from the dash panel is not required.
^ Ensure the clutch cylinder rod socket is disconnected from the clutch pedal.

7. Remove 3 bolts securing the clutch pedal to the brake pedal support module.
8. Remove the IP Carrier.
Installation Procedure
Notice: Refer to Fastener Notice in Service Precautions.
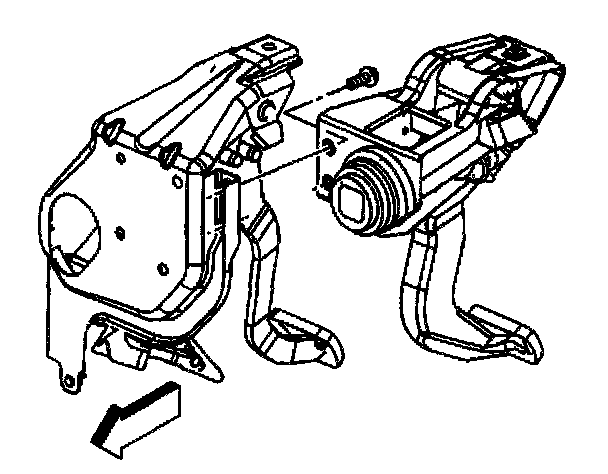
1. Secure the clutch pedal to the brake pedal support module with 3 bolts.
^ Tighten the bolts to 50 Nm (38 ft. lbs.).
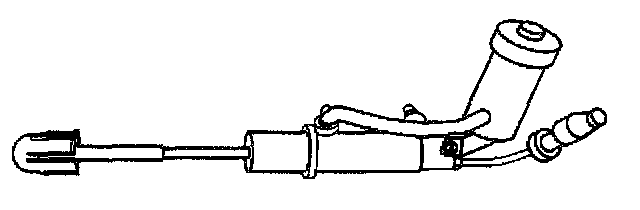
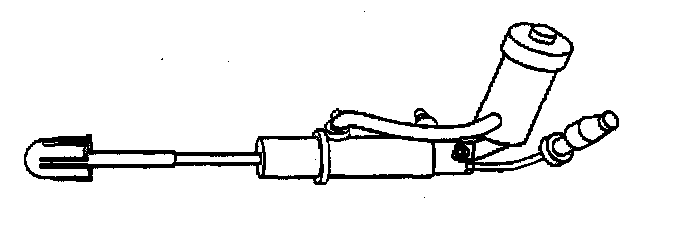
2. Position the clutch master cylinder to the vehicle.
3. Install the master cylinder to the dash panel.
4. Turn the master cylinder 45 degrees counter clockwise to lock the master cylinder.
5. Connect the wire harness to the clutch master cylinder.
6. Push the clutch pedal all the way down and connect the clutch pedal pocket to the pushrod bushing tabs and make sure the pushrod bushing snaps into place to ensure clutch pedal operation.
7. Quick connect the hydraulic line to the master cylinder correctly.
8. Check the clutch pedal for travel, if the clutch pedal is hard to push, go back and quick connect the hydraulic line to ensure proper installation.
9. If needed, pump the clutch pedal 25 times to ensure proper operation to the clutch system.
10. Install the IP Carrier.