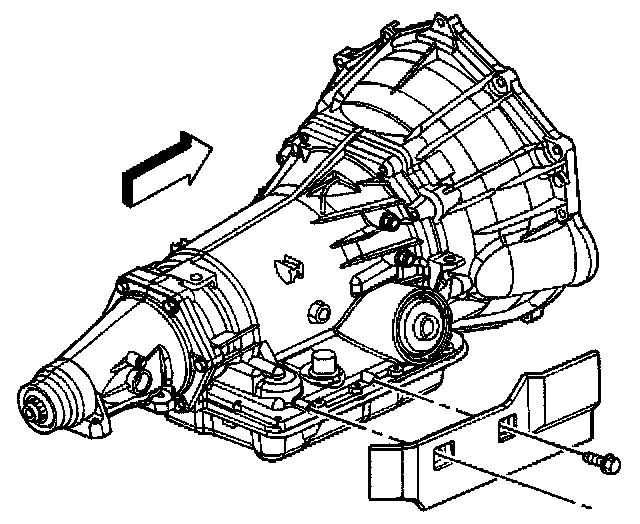
4L60-E - Automatic Transmission
2-4 ServoRemoval Procedure
^ Tools Required
- J 29714-A Servo Cover Depressor
1. Raise the vehicle. Refer to Vehicle Lifting.
2. Remove the exhaust pipe assembly.
3. Remove the heat shield.
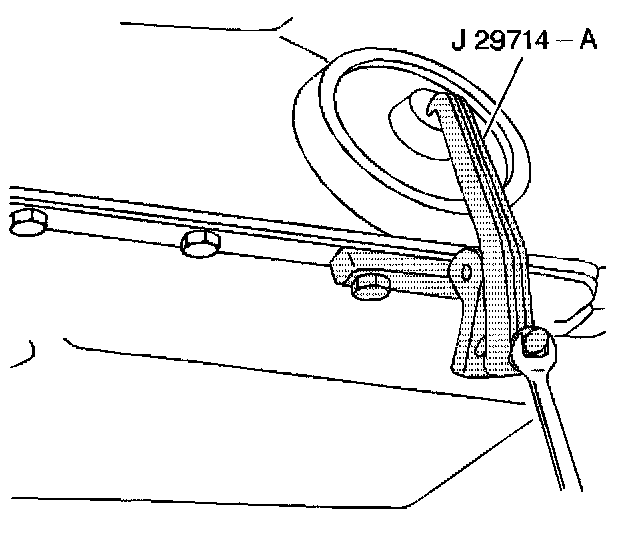
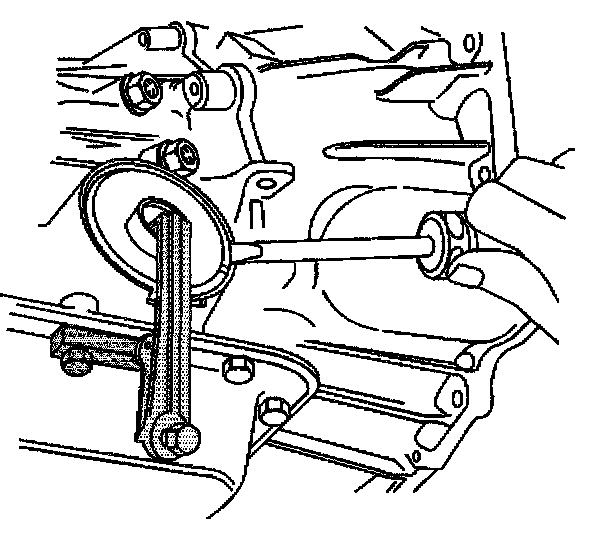
4. Install the J29714-A.
5. Tighten the bolt in order to compress the servo cover.
6. Remove the servo cover retaining ring.
7. Remove the J29714-A.
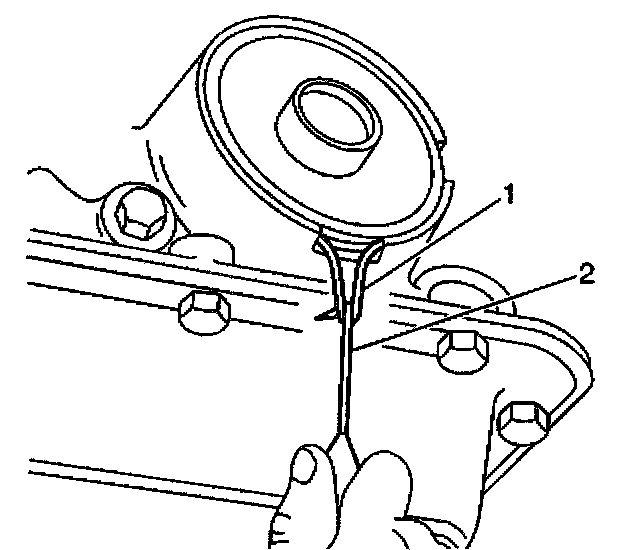
8. Remove the servo cover and the O-ring seal. If the cover is hung up on the seal, use a pick (2) to pull and stretch the seal (1) out of the groove. Cut and remove the O-ring seal before removing the cover.
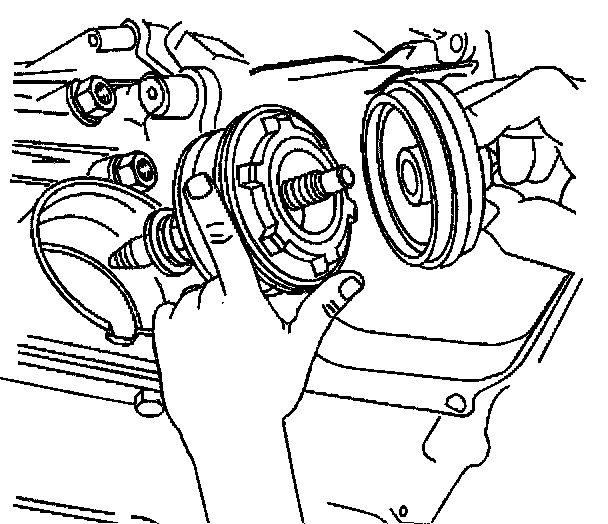
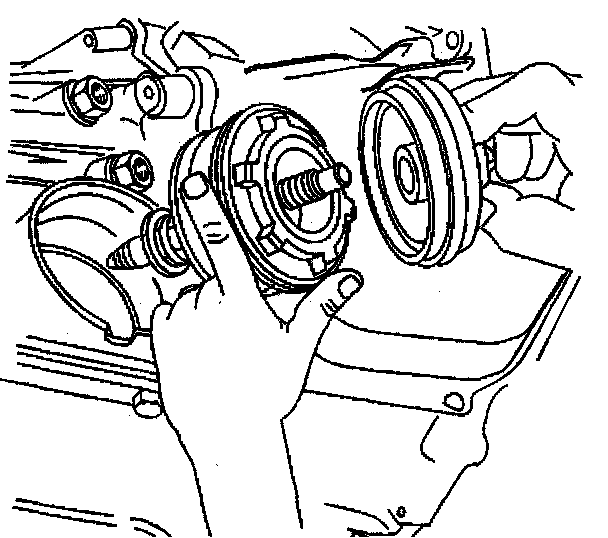
9. Remove the 2-4 servo from the transmission.
10. Inspect the 4th apply piston, 2-4 servo converter, 2nd apply piston, and the servo piston inner housing for the following defects.
^ Cracks
^ Scoring
^ Burrs and nicks
Installation Procedure
^ Tools Required
- J 29714-A Servo Cover Depressor
1. Install new seals on the servo pistons and the servo cover.
2. Install the 2-4 servo assembly into the transmission.
3. Install the J29714-A.
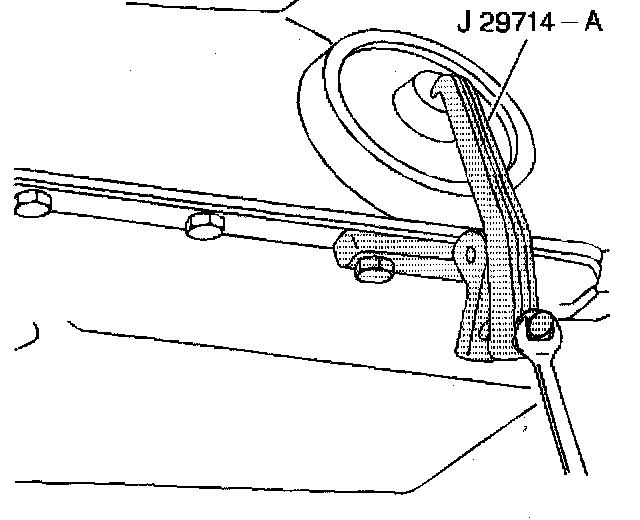
4. Tighten the bolt in order to compress the servo cover.
5. Install the servo cover retaining ring.
6. Remove the J29714-A from the oil pan flange.
Notice: Refer to Fastener Notice in Service Precautions.
7. Install the oil pan bolt.
^ Tighten the oil pan bolt to 11 Nm (97 inch lbs.).

8. Install the heat shield.
Notice: Refer to Fastener Notice in Service Precautions.
9. Install the two bolts securing the transmission heat shield to the transmission.
^ Tighten the bolts to 17 Nm (13 ft. lbs.).
10. Install the exhaust pipe assembly.
11. Lower the vehicle.
12. Check the automatic transmission fluid level.