Right
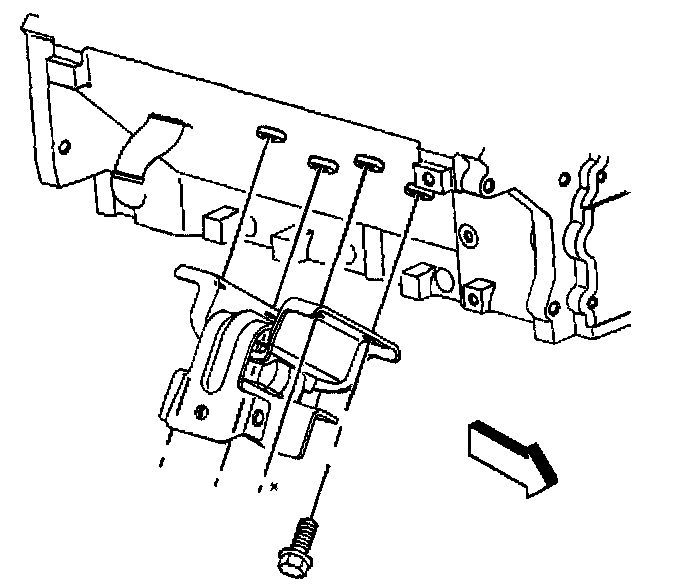
Engine Mount Replacement - RightRemoval Procedure
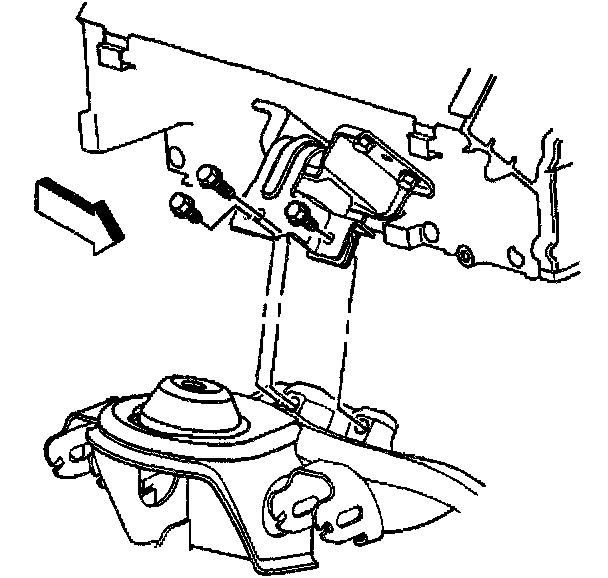
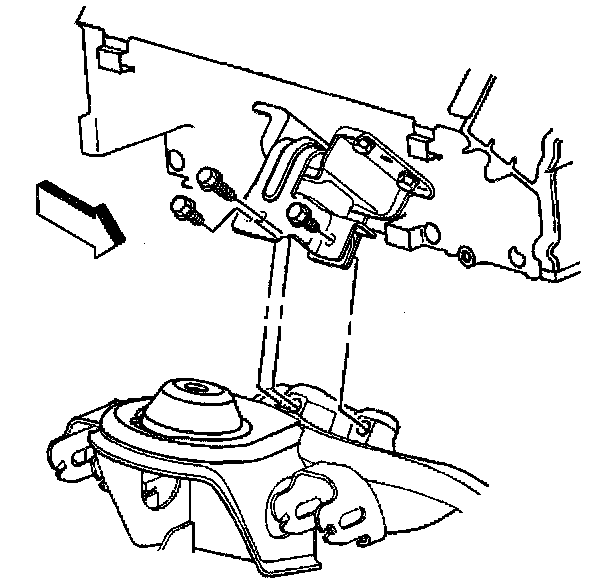
1. Remove the engine mount-to-engine mount bracket bolts.
2. Raise and suitably support the vehicle. Refer to Vehicle Lifting.
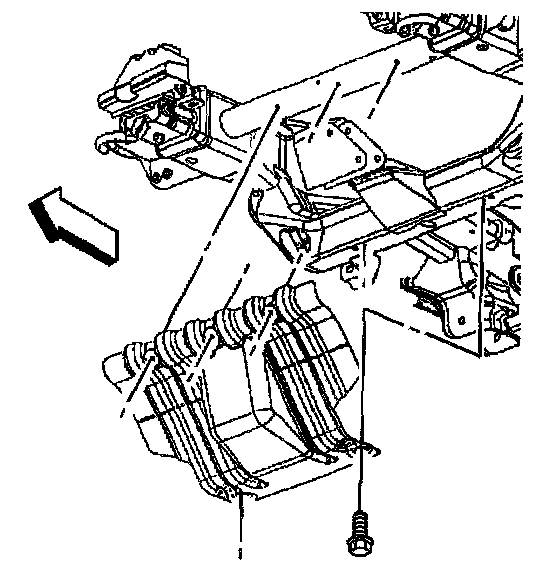
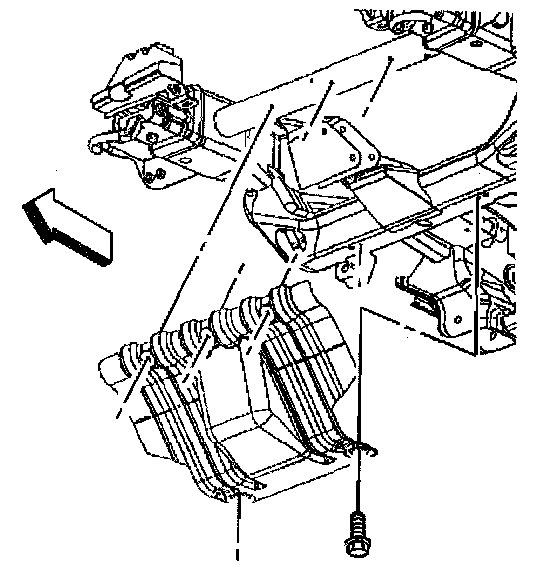
3. Remove the engine shield bolts.
4. Remove the engine shield.
5. Remove the Air Conditioning (A/C) compressor.
6. Remove the starter motor.
Important: DO NOT raise and/or support the engine by the crankshaft balancer, or oil pan.
7. Raise and suitably support the engine using adjustable (screw type) jack stands.
8. Remove the engine mount bolts.
9. Remove the right engine mount.
Installation Procedure
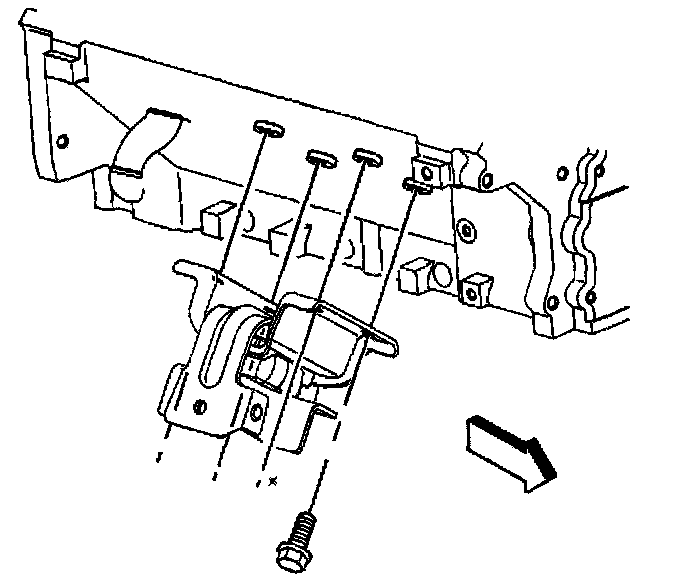
1. Position the right engine mount to the engine.
Notice: Refer to Fastener Notice in Service Precautions.
2. Install the engine mount bolts.
- Tighten the engine mount bolts to 50 Nm (37 ft. lbs.).
3. Lower the engine.
4. Remove the adjustable jack stands.
5. Install the starter motor.
6. Install the A/C compressor.
7. Position the engine shield to the vehicle.
8. Install the engine shield bolts.
- Tighten the engine shield bolts to 20 Nm (15 ft. lbs.).
9. Lower the vehicle.
10. Install the engine mount-to-engine mount bracket bolts.
- Tighten the engine mount-to-engine mount bracket bolts to 65 Nm (48 ft. lbs.).