Standard Type
Changing A Tire (On Front, Rear Or Spare Wheel)
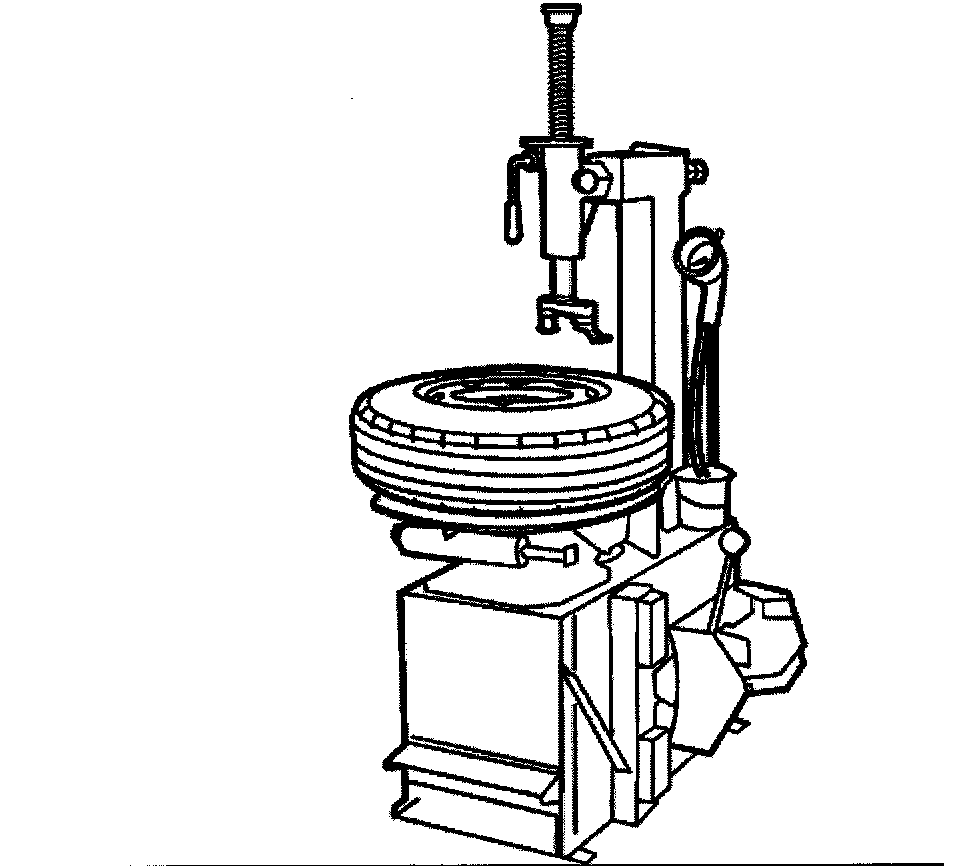
For correct mounting of tires, refer to operating instructions supplied with tire mounting machine. Also make sure that the machine is in perfect condition and that the wheel rim and tire are not damaged.
Models with M-Mobility system
If, after a flat, the tire was filled with the M-Mobility system, it is necessary prior to its removal to drill a hole (approx. 25 mm) through the tire sidewall. Allow the sealing fluid to flow out of this hole and dispose of it in an environmentally responsible manner. Clean the disk wheel after removing the tire.
Tire removal with a fitting machine:
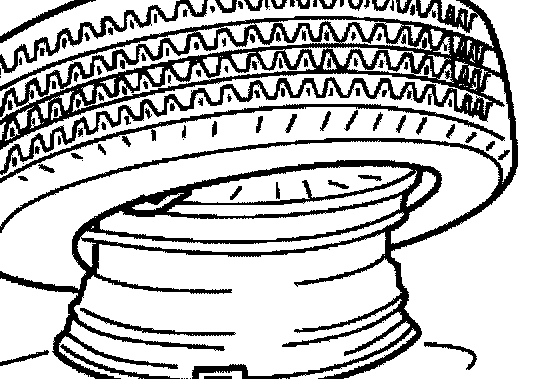
Unscrew valve and deflate tire. Press off bead from rim flange all around on outside and inside using pressing-off horn of machine.
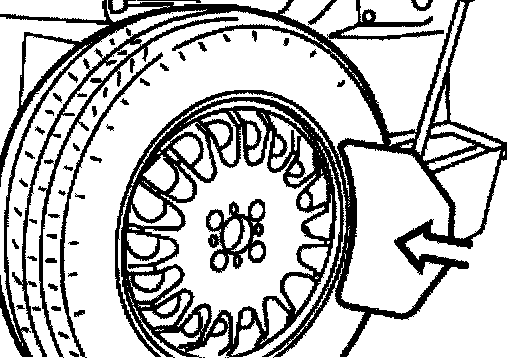
If the tire beads are stuck, first loosen beads at various points of wheel before actually forcing tire off with pressing-off horn.
Push both tire beads completely into rim well until they are loose.
Pull off balance weights on rim and clean rim to remove large pieces of dirt.
Coat tire beads with mounting paste (refer to BMW Parts Service).
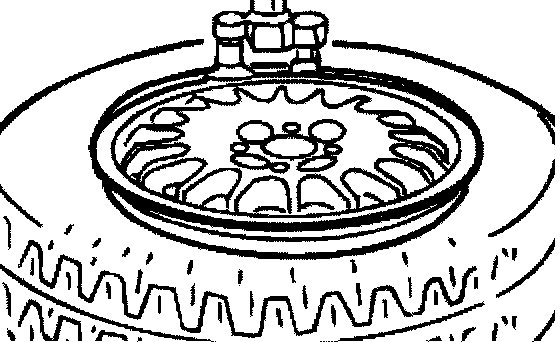
Clamp wheel on mounting machine.
Narrow rim shoulder always faces upwards.
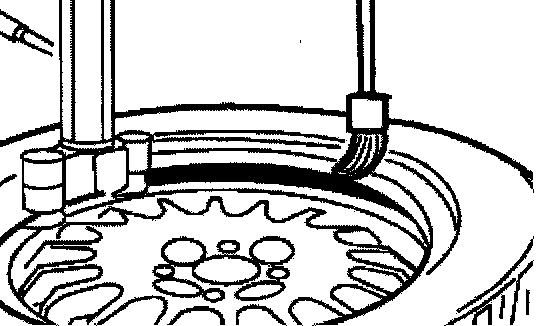
Swing or fold mounting pillar into position and let it engage.

Adjust mounting head, pressing it on the rim edge fully, and turn down the lever for the clamp; normally the distance of the mounting head will set in automatically.
Valve should be about 10 cm to the right of the mounting head.
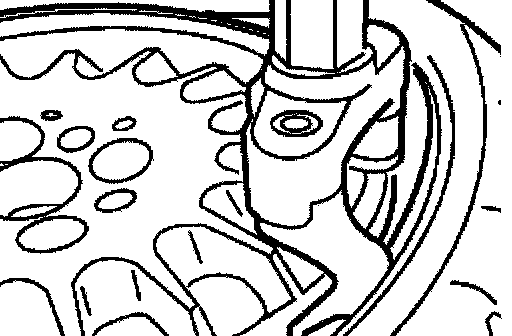
Raise tire bead with tire iron over mounting finger.
Note: To avoid damage, it is recommended to use coated or shrink-fit hose-covered tire irons for light alloy rims.
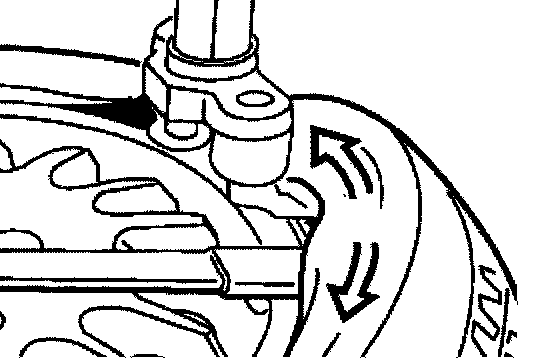
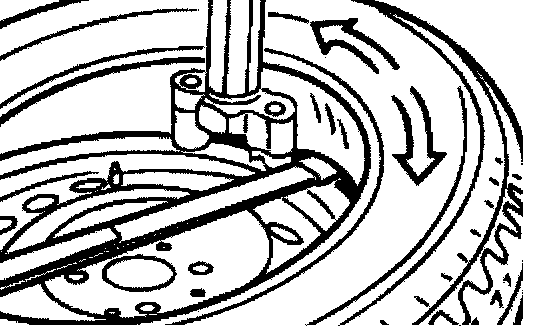
Let mounting machine run back a short distance (counter clockwise) so that the tire bead can slide fully onto mounting finger.
Then let mounting machine run forward (clockwise) a short distance.
In so doing, always check whether bottom bead is fully in rim well and tire is given enough time to move.
If the bead clamps, stop the machine and let it run back slightly.
If the upper bead is pulled off the rim, also lift the bottom bead over the mounting finger with the tire iron.
Let machine run back a short distance again and then forward (clockwise) briefly until there is complete separation of the tire from the rim.
Release lock and tilt back or swing away mounting pillar.
Unclamp and clean rim.
Replace valve.
Coat rim flange and tire beads with mounting paste.
Clamp rim on mounting machine.
Slide on tire with lower bead partially over rim flange.
Valve is 10 cm to the right of mounting head.
Swing or tilt mounting pillar into position and lock.
Check adjustment of mounting finger, readjusting if necessary, and clamp.
Press tire under mounting finger by hand.
Tire bead should seat in rollers next to mounting finger.
Let mounting machine run forward (clockwise) a short distance.
Lower tire bead will drop into rim well.
Press upper tire bead underneath mounting finger. Tire bead should seat in rollers next to mounting finger
Important: Do not pinch or damage bead.
Operate mounting machine forward (clockwise) little by little; while doing so, make sure the lower tire bead remains in the rim well.
After mounting, first release clamps and then inflate tire (without valve).
Increase pressure up to 3.3 bar (330 kPa) in steps jumping pressure).
If the tire bead does not slide onto rim edge all around, do not increase pressure. Instead, tire must be deflated and tire bead pressed off; then coat rim flange with mounting paste again and inflate again up to 3.3 bar. When the beads are resting properly on the rim shoulders, increase inflation pressure to max. 4.0 bar to "settle" the tire.
Screw in valve and correct tire pressure.